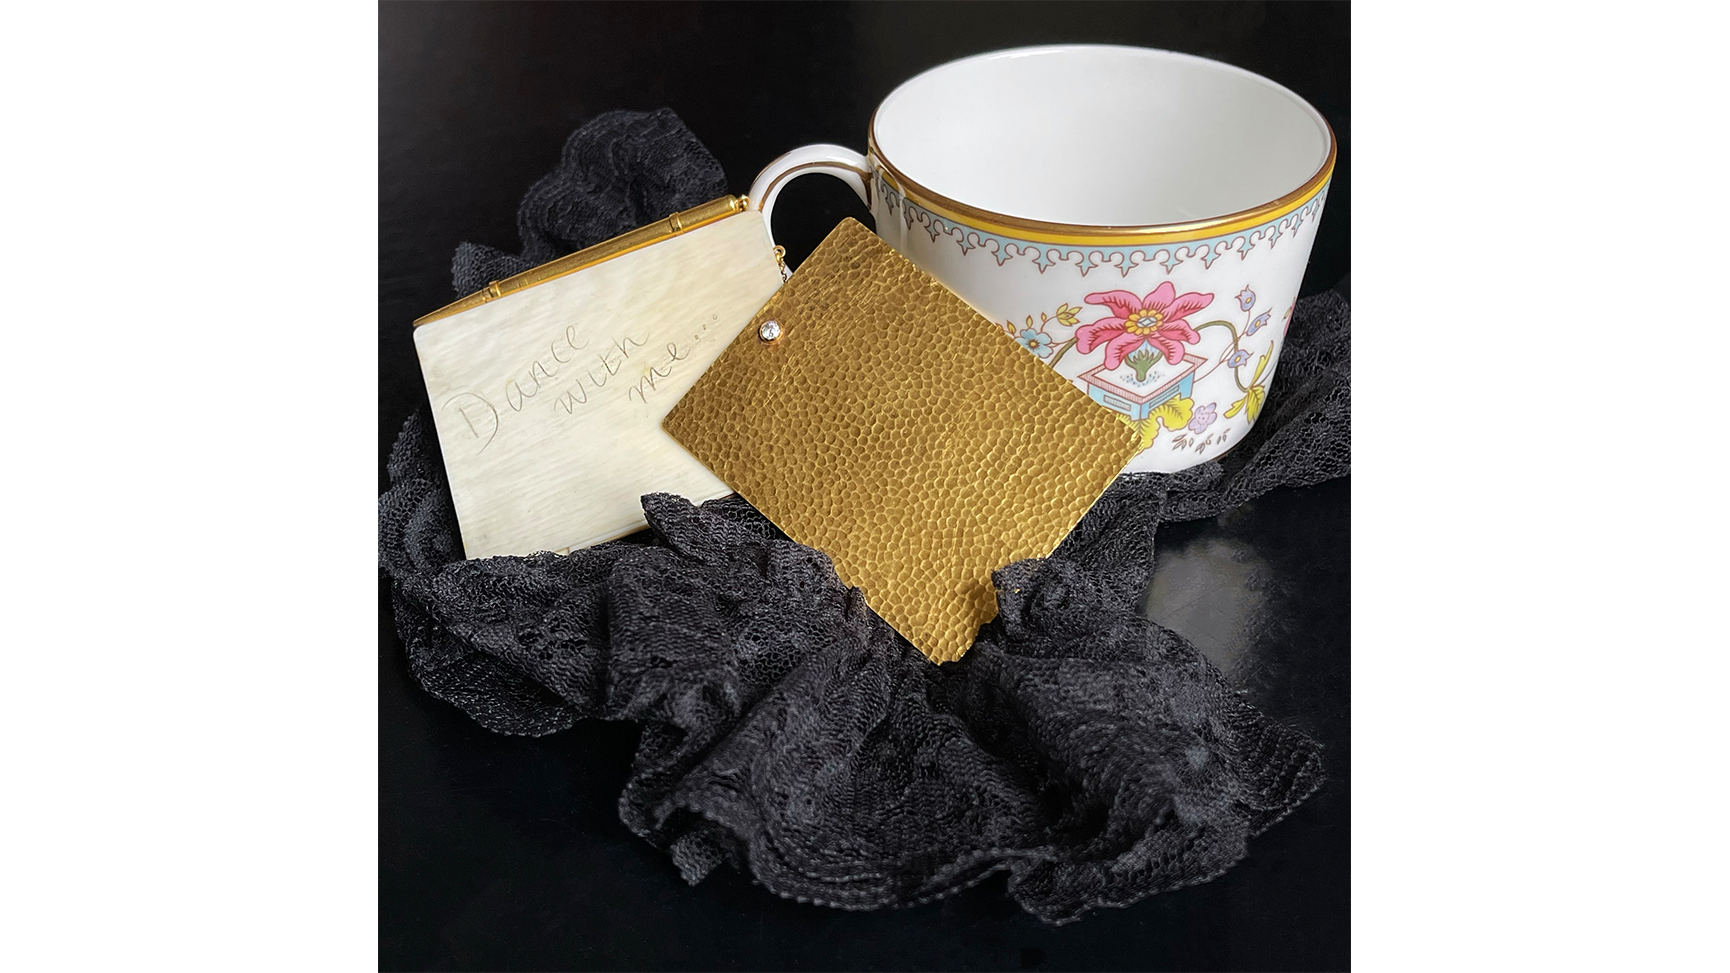
Instagram, Facebook, websites, the list of places to post photos of your jewelry is growing. You want people to see how beautiful your pieces are, so you need great photography but you’re also not a professional photographer. So what do you do? Take it yourself, which is not as terrifying as it sounds. There are two aspects to taking a great photo — the technical aspect and the compositional aspect. Technical is working the equipment (it sounds more daunting than it is) and compositional, which is how you want the finished photo to look.
Jewelers Circle has compiled a list of tips to help you take the best possible pictures. We’re using the iPhone as an example in this blog, but these tips can be applied to any photos that you may want to take with your phone. While these tips will help you to improve your photography, it is still not a substitute for a professional image taken in a photo studio with optimal lighting conditions, which really capture the sparkle of diamonds and the nuances of colored gemstones.
1. Get to Know Your Phone Camera
Before you even take the first photo, play with the camera on your phone. Check out the different features that you use to change lighting or format. To really learn to use the camera in your iPhone optimally, spend a bit of time experimenting with the different features on your phone camera. The best way to learn about all the features on your phone is to go to a website that will give you detailed instructions such as support.apple.com, or macpaw.com. A quick Google search on how to take photos with your phone will turn up other helpful information as well.
2. Set Aside Some Time
Taking photos with your phone will take time. Set aside an hour or more of uninterrupted time when you can really focus on what you’re doing. Keep in mind that a good part of taking a fabulous photo is in the set up so it’s worth taking the time to make sure all is in place before you start clicking the camera.
3. Clean the Jewelry
When you feel comfortable using the camera on your phone, choose the pieces of jewelry that you want to photograph. Clean the jewelry — metal and stones — before you photograph it. The camera is very sensitive and may pick up dust or fingerprints. Also, be sure to clean the lens on your phone camera before you start clicking away.
4. Styling Your Photos
When you are ready to start photographing your jewelry, find a place where you can set up a “mini photo studio”. It can be anywhere, but preferably next to, or near, a natural source of light.
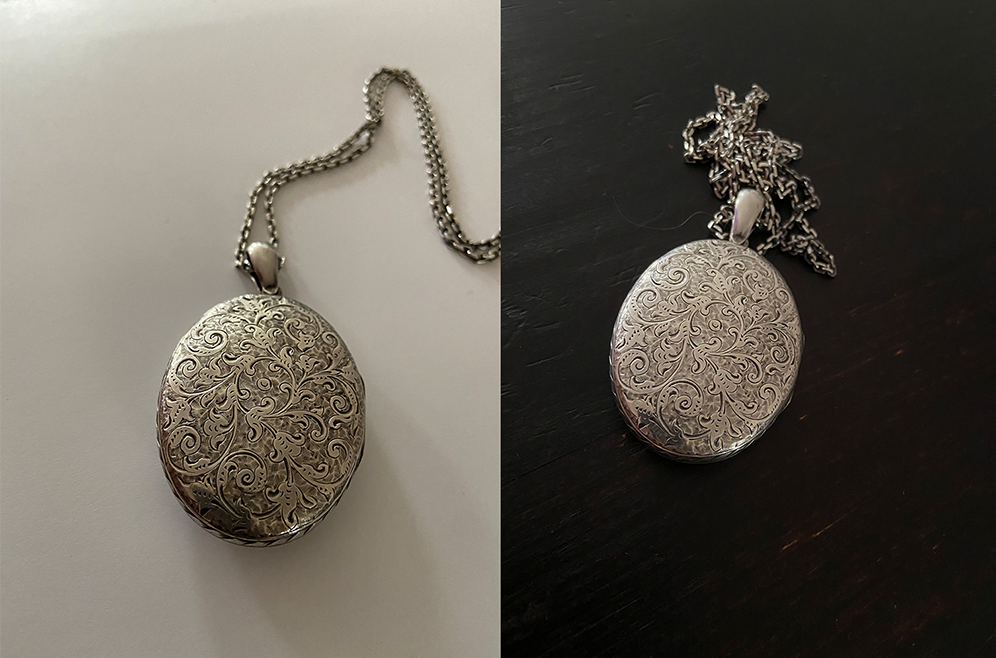
Decide how you want the jewelry to look. This is a multipart process. Determine if you want to stick with a basic white background, or black background. You can create a gallery feeling on your Instagram or website by using all white backgrounds. The jewelry will pop and you will have a very clean, minimalist feeling to your photos. This is a good option for jewelry with intricate design or lots of detail and color. Using a black background will create a sense of drama and will also have a gallery feeling to it. Make sure that whatever you use for a background is clean and dust free. If you use a black velvet jewelry tray, use a lint roller to pick up the dust, which will for sure show up in your photo if you don’t remove it.
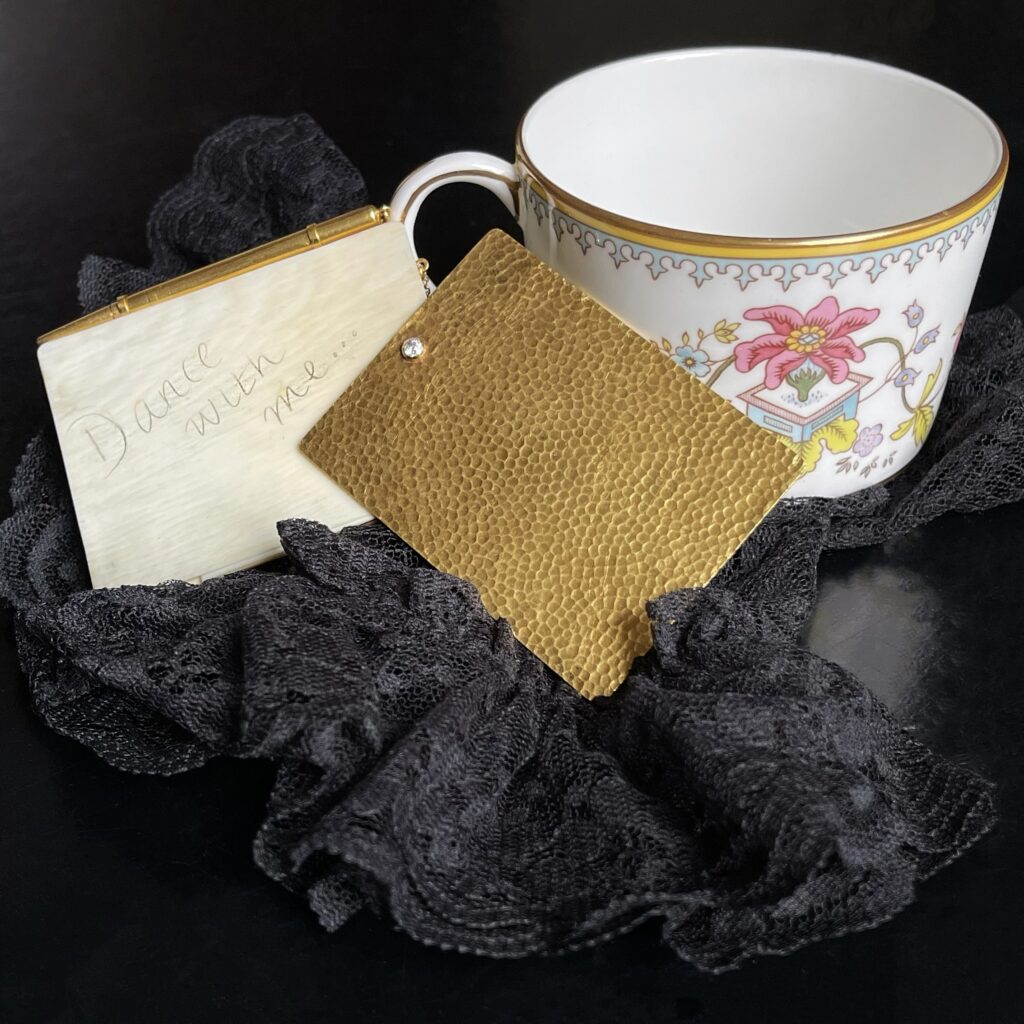
Alternatively, you may want to add some backgrounds for a customized look, or to set a mood for a piece. These types of images tend to be especially nice for use on social media. The background possibilities are endless. You can use a crystal geode and drape a piece across it, make a pile of mulch and moss and rest a brooch on it, or find a nice fabric and photograph on top of that, use leaves, flowers or feathers. It’s best to experiment and test backgrounds and props to make sure that they work well with the piece. The jewel should be the focus, the background should be just that — a background that supports the beauty of your jewelry. Sometimes you may find something that you think will be a fabulous background, but then it doesn’t look right. It can also work the other way, something that seems like a “maybe it will work and maybe it won’t” can end up looking fantastic. The only way to really know is to try it.
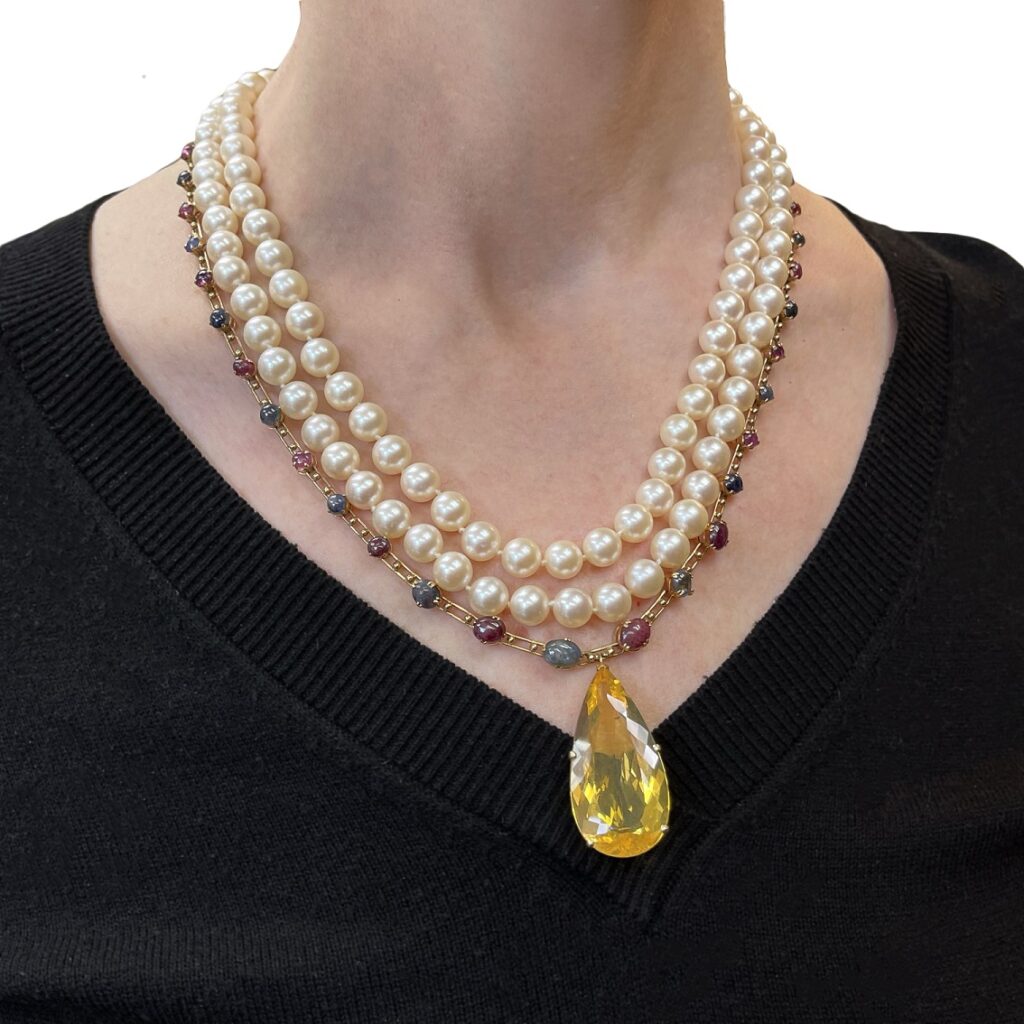
It’s also very helpful to see a piece of jewelry being worn. So if you can get some selfies of you wearing the piece, fabulous, or get someone to model the jewelry while you take the images. When you do a model shot, stay focused on the jewelry, you do not need to show faces – an ear with an earring, the neck with a necklace, the wrist with a bracelet and the hand with a ring is all you really need. Brooches placed on a piece of clothing that is being worn in the photo is also a great way to show off a piece.
5. Compose Your Shot
Compose your shot so that it looks interesting. If you have a long necklace for example, show just a part of the chain and showcase the focal point of a pendant or front of the necklace. If the chain is an important design element to the piece, you can also swirl the chain, or put it in a zig-zag pattern to add visual interest. With earrings consider putting them at slightly different heights rather than lined up next to each other. A ring can stand up on its shank, or lay down, bracelets can be clasped and shown in a circle, or if it has a detailed pattern you may want to unclasp the bracelet and lay it flat and show an up close look at the design. Play around and see what works best.
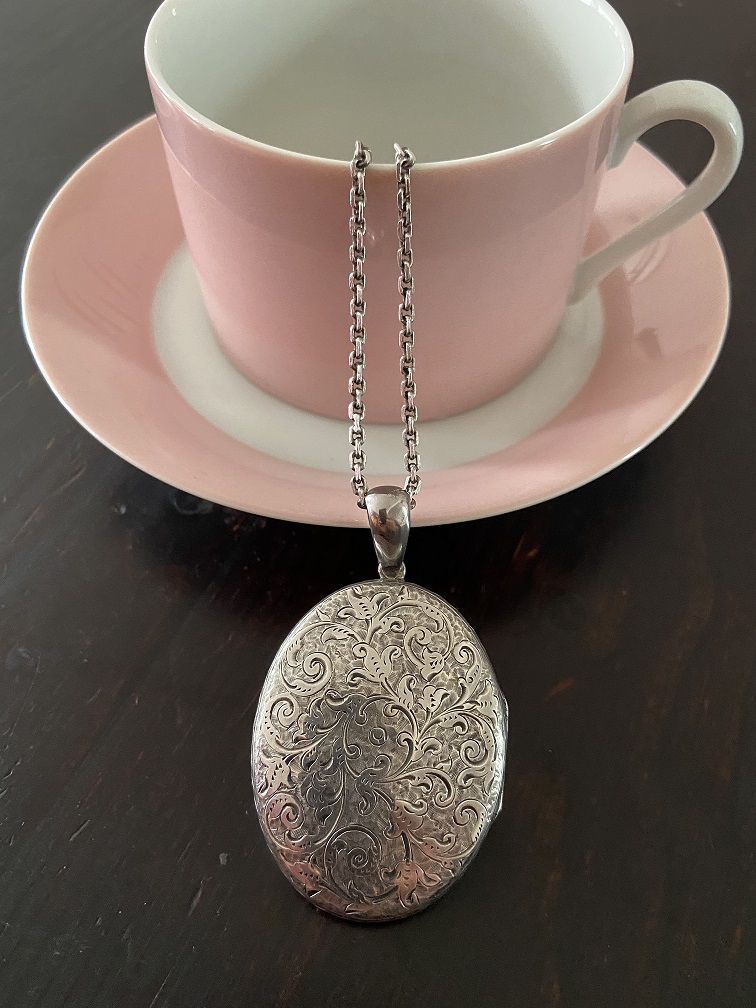
A couple of hints: When you take the picture, make sure that there are no stray objects in the photo that you don’t want to be there. Clear the space where you are taking the image so that there is nothing that can get into the shot that shouldn’t be there. For example, you don’t want your feet in the shot, your hair, or that ugly chair you’ve been meaning to throw out. Make sure that the entire piece is in the image. Do not cut off the sides, top or bottom of the piece. Be creative and go close on one section of a piece to show details and use that as a second image for a post.
6. Lighting
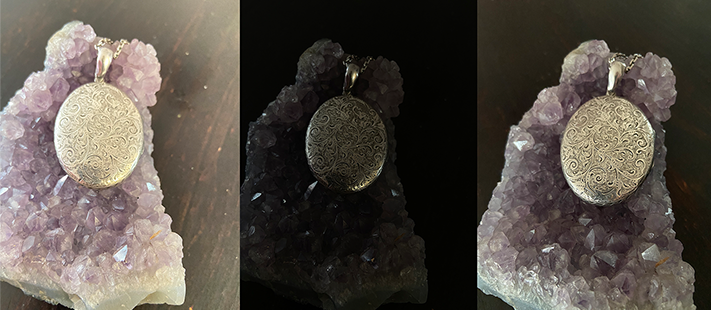
Get your phone as close as possible to the jewelry without getting so close that you go out of focus and the shot gets blurry. Lock in the piece of jewelry that you are photographing by tapping the screen in the place where you want to focus on the jewelry. When you tap the screen the camera will automatically focus on that area and it will now have a yellow box outline around the area where you want to focus. The iPhone camera will automatically lock in on that area. Now you can adjust the lighting. Next to the yellow box is a sun icon. Move the sun icon up or down and it will lighten (slide up) or darken (slide down) the image. It’s a good idea to spend some time on getting the lighting right as that is what can make or break a photo.
Also, check your images to make sure they are not blurry. Sometimes the blur comes when you are trying to get a close-up of the piece and you get too close. That will blur the shot, pull back a bit to get refocused for a sharper image.
7. Take Several Shots
You’ve cleaned the jewelry and camera lens, you’ve created your set, preferably near a natural light source and you know how you want to style the jewelry. Now that you’ve done the prep work, it’s time to take the actual photo. Take a bunch of photos of each piece from different angles and with different lighting. Change the height of your phone when you’re taking pictures. Most of the time we shoot from chest height, lower the phone to get a different angle. For a close-up move as close as possible to the piece of jewelry rather than using the zoom feature, which may distort the image. You can take the picture with the on-screen button that you tap, or click the volume up button on your phone, which will help to avoid camera shake that may cause the image to blur.
You’ll need to take a few shots to get what you want. Then decide which one you like best and use that one. Remember, even the pros have to take multiple images to get the desired result.
Now that you have a few basic pointers to get you started with your jewelry photography, experiment with different ideas, backgrounds and lighting. It takes practice to get comfortable taking pictures and it takes even more practice to hone your skills so that you can take a great picture. Play around and try different things, if it doesn’t work, no big deal, just delete the image and move on to the next shot. A final hint: Be creative and have fun.
Featured image (top of page): Use props to add visual interest and to create a story with your jewelry, gold dance card, courtesy Paul Fisher.
Authored by Amber Michelle
